Joyful and Simple Designs is a participant in the Amazon Services LLC Associates Program, an affiliate advertising program designed to provide a means for sites to earn advertising fees by advertising and linking to amazon.com. Some of the links below are affiliate links, so we may receive a commission, at no cost to you, if you make a purchase through a link.
Supplies
- 1.5″ Thin strips of Oak
- 12″x12″ plywood (I prefer Sandee)
- Wood Glue
- Minwax Stain
- Address Numbers
- French cleat hanger
- 220 Grit Sand paper
- 120 Grit Sand paper
- Minwax Outdoor Sealer
Tools
Directions

1. Start by making 4 quadrants on your 12″x12″ board. These quadrants will help keep the herringbone straight.
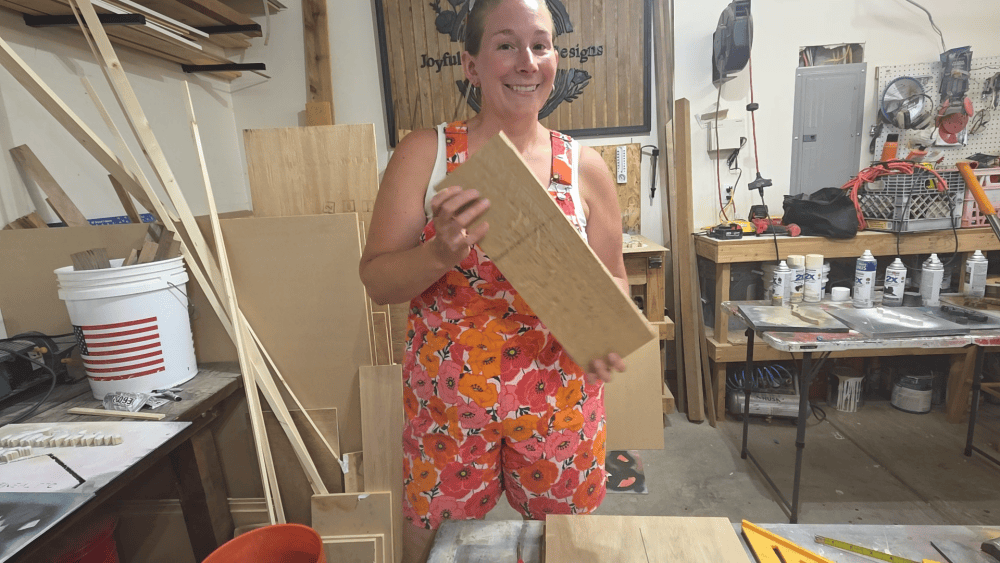
2.I used scrap oak wood to cut down strips on the table saw which I didn’t take any pictures of. The wood was about 1.5″ thick and I cut the board into 1/4″ strips.

3.Here’s what the strips looks like after they are cut.

5. Cut the strips. I cut mine into 5″ chunks and used a stop block so each one was the same. 5″ is just what I did, but you can go bigger or smaller to maximize your wood. If you are using a stop block make sure to let your blade stop before you lift your miter saw. Sometimes the wood can bind between the blade and the stop block and shoot out.


6. Take your time to get your alignment on your wood straight. I use a square and my quadrants to make sure the wood lines up. I also lay out all my pieces before I glue to make sure I have enough.
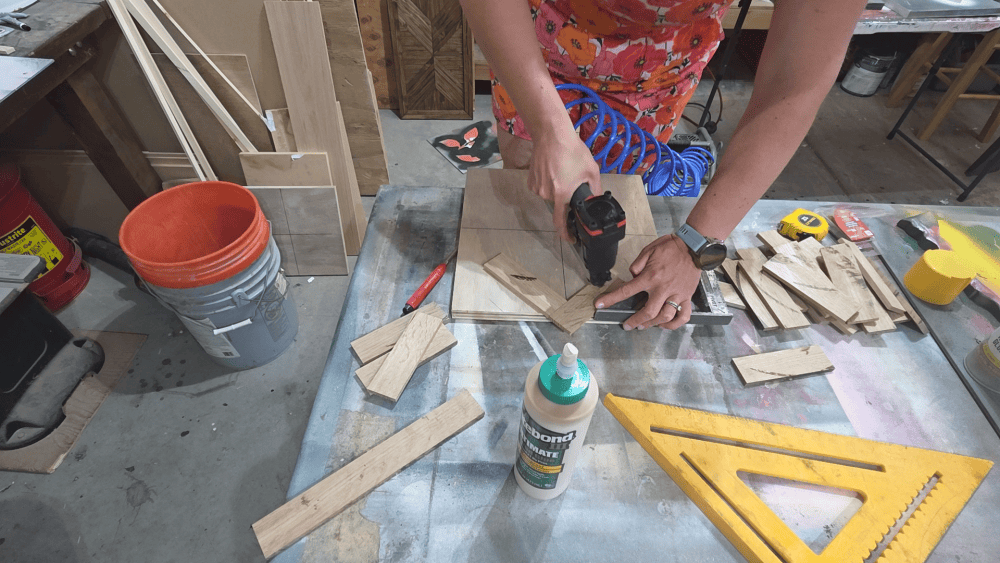
7. While using your square, glue each piece and use a pin nailer to attach to your backer.


8. Keep gluing and nail your pieces until your board is covered. Let dry completely.

9. Once your pieces are dried, we are going to cut off the excess. I use a skil saw and square to keep my cuts stright.

10. Sand off any excess glue and marks.
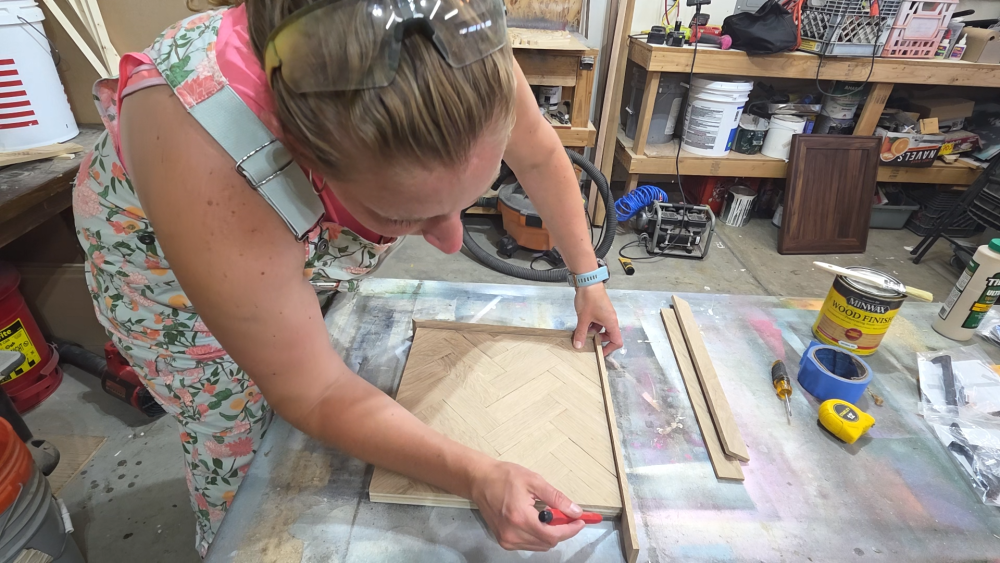
11. Cut out your border. I am using the same strips of oak for my border. I measure one piece at a time and cut my border at 45 degree angles. This is a slow process!

12. Glue the border/ frame.
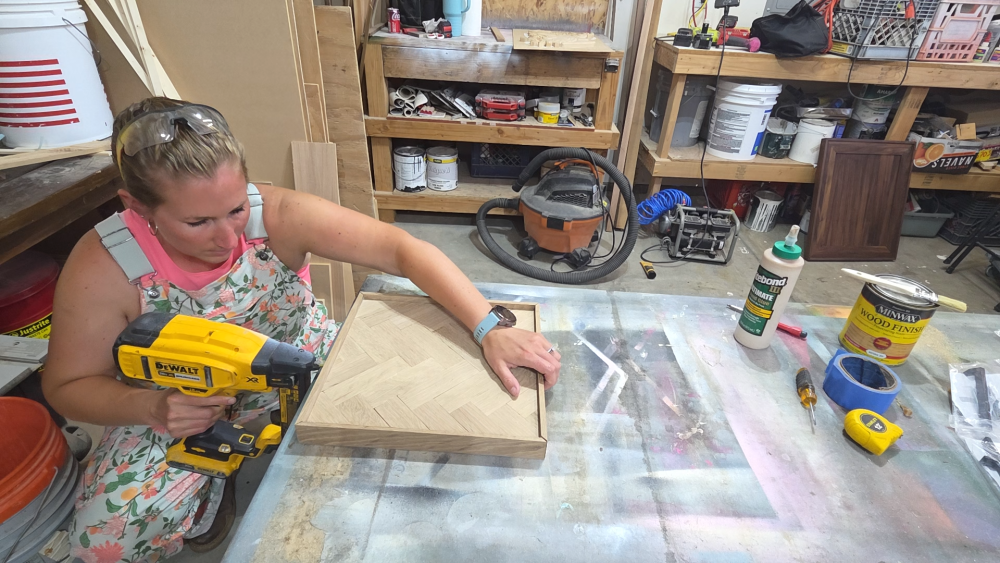
13. I use a stapler to attach my border onto the backer.
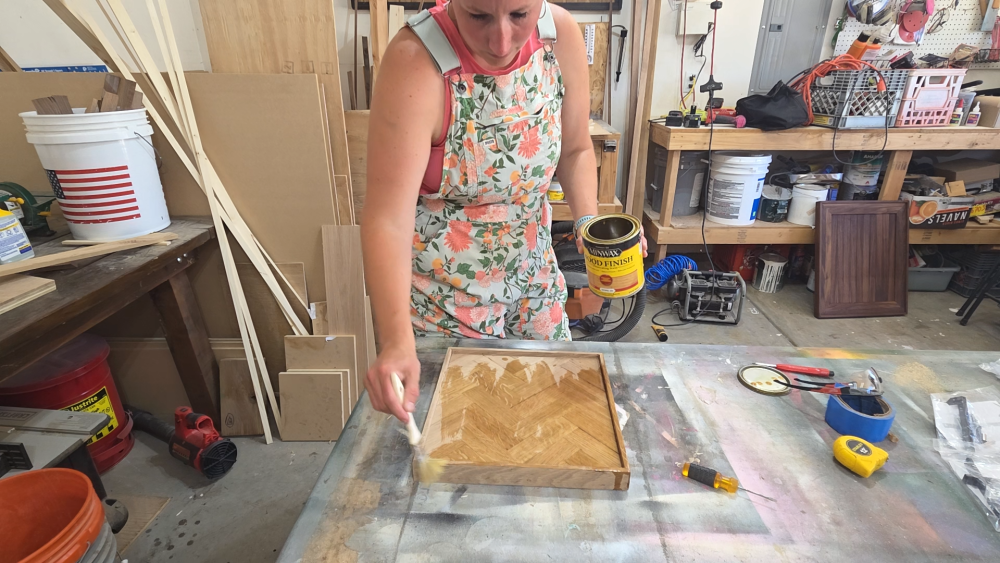
14. Stain your sign, I am using Minwax natural stain. Wipe off stain to get a good finish.

15. Seal your sign with an outdoor clear coat. I am using Minwax. I used 3 coats and let dry for 24 hours.
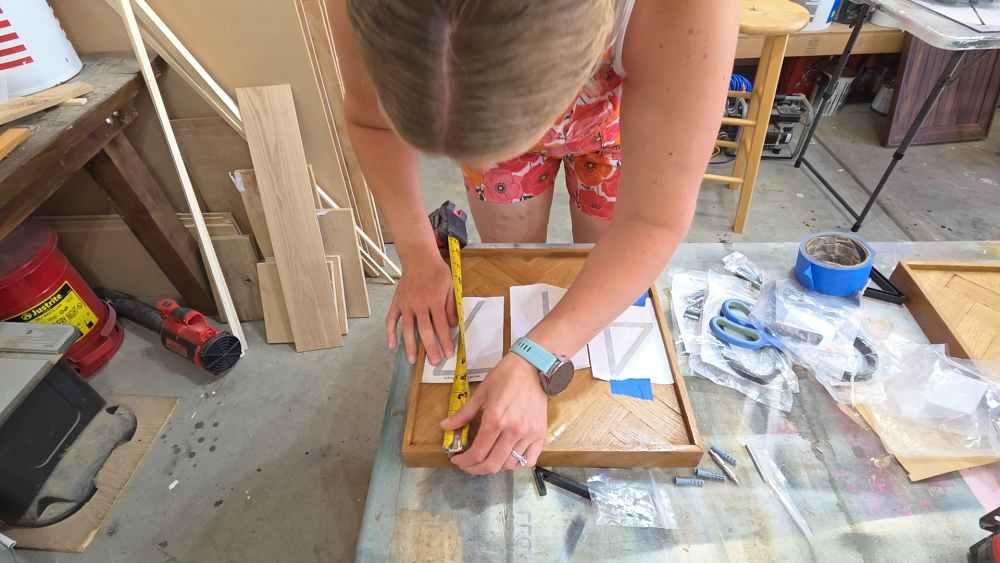
16. The numbers I am using come with a template. Measure your placement to make sure your numbers are centered and even.

17. Drill holes in your templates. The numbers came with directions and what drill bit to use. Make sure to test your drill bit on a scrap board with the screw before you drill on your sign. Always good practice to make sure it will work!

18. These numbers get pounded into the holes. I use a soft hammer so the numbers don’t get bent.

Your sign is all finished!
Leave a Reply