Joyful and Simple Designs is a participant in the Amazon Services LLC Associates Program, an affiliate advertising program designed to provide a means for sites to earn advertising fees by advertising and linking to amazon.com. Some of the links below are affiliate links, so we may receive a commission, at no cost to you, if you make a purchase through a link.
Supplies
- (1) 1″x12″ x 6ft pine board
- 12″x24″ plywood (I prefer Sandee)
- 3/4″ MDF
- Wood Glue
- Minwax Stain
- Spray Paint
- French cleat hanger
- Spray adhesive
- Bear Design
- 220 Grit Sand paper
- 120 Grit Sand paper
- E6000 Glue
Tools
- Miter Saw
- Table Saw
- Pin nailer
- Square
- Skill saw
- Scroll Saw
- Scroll saw blade
- Stapler
- Dremel
- Sander
- Face Mask
Directions
- Start by Ripping your pine into 1/4″-1/2″ strips. I just bought this awesome push stick for the table saw that I have really liked so far! You will need a lot of these, about half of your board.
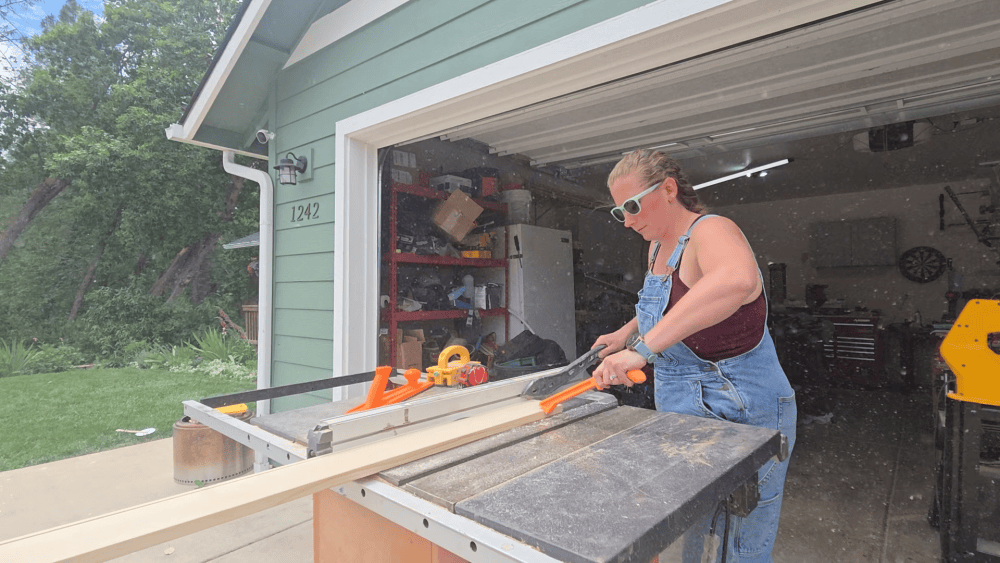
2. Some of the pine will also be used as a border/ frame for the sign. I like my frames bigger, at about 1 1/2″ thick. I ripped 2 to 3 pieces at that size.
3. With our pine strips, we are going to create a mosaic. All pieces will be cut at 45 degree angles. Here’s the pattern.
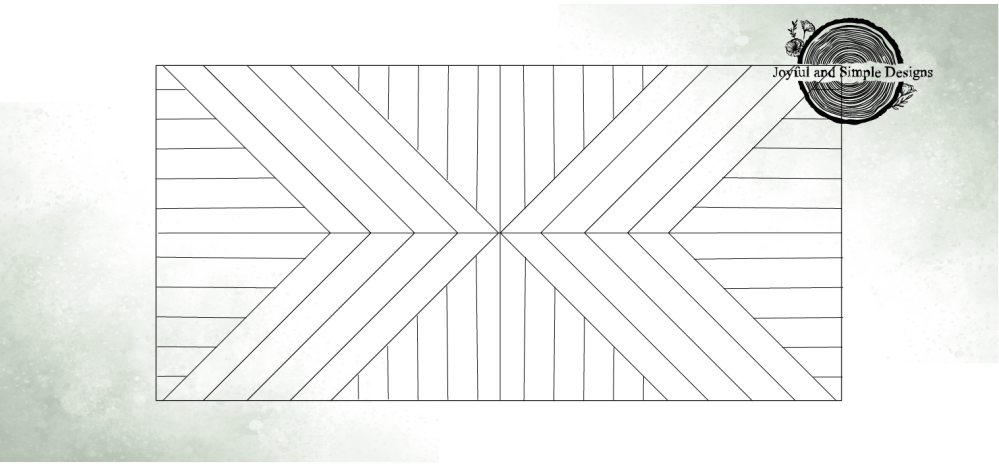
4.Using the miter saw cut all your pieces to length. I like to lay mine all out before I glue them. I go into more depth on how to do this on in the vieo tutorial.

5. Now we are ready to attach. Our mosaic will be attached to the 12″x24″ plywood. I use a square to make sure my first pieces are line up right. This is so important! We are going to glue and pin nail each of the strips. If you have some gaps along the edge of the mosaic we will cover those with a secondary border. Make sure to let your glue dry all the way before moving on.
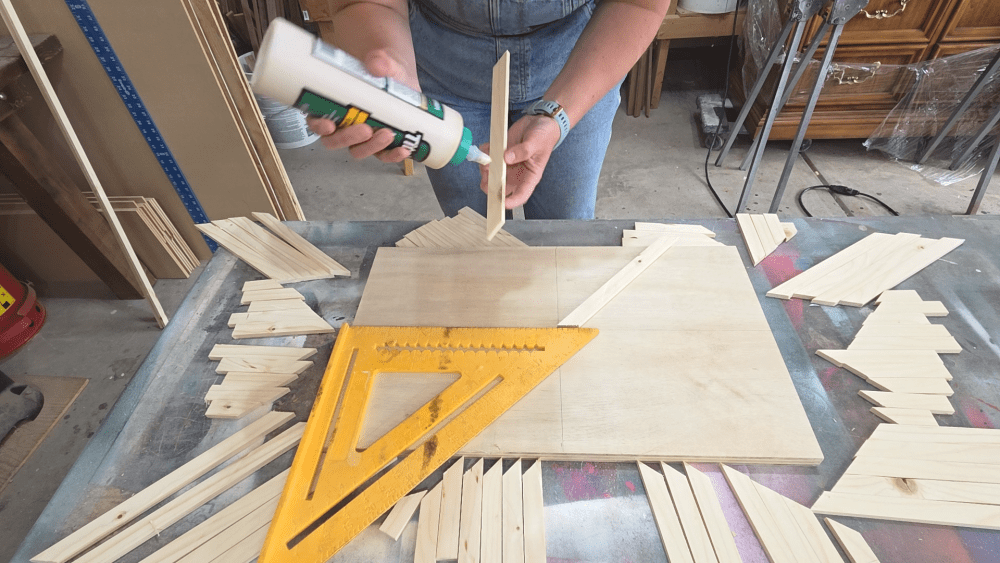

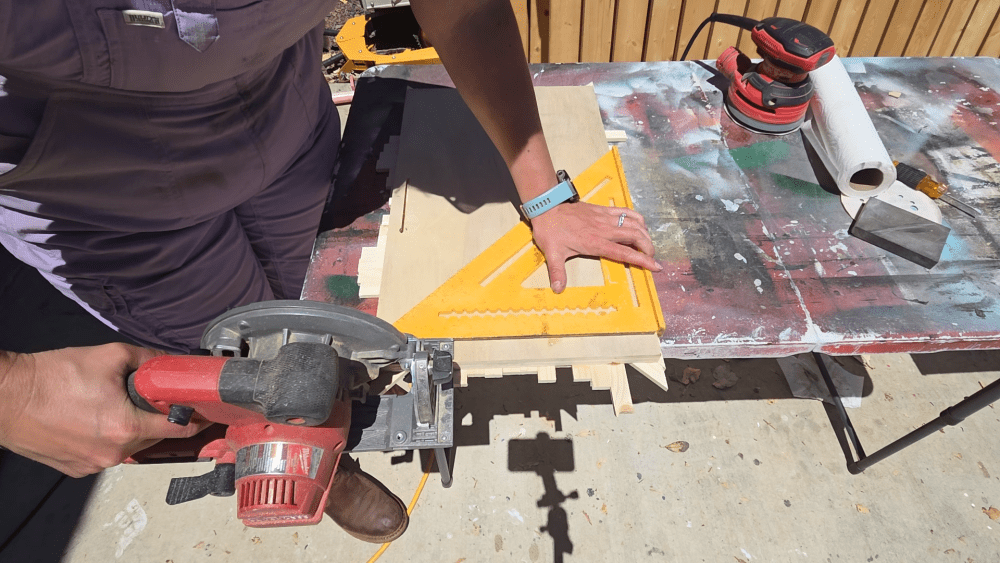
6. Cut off any pieces that are sticking out from your plywood. I like to use my square and skill saw to keep everything straight.
7. Sand the front of your mosaic. This whole piece we will call a backer. Make sure to get off all excess glue or you will see it once we stain.
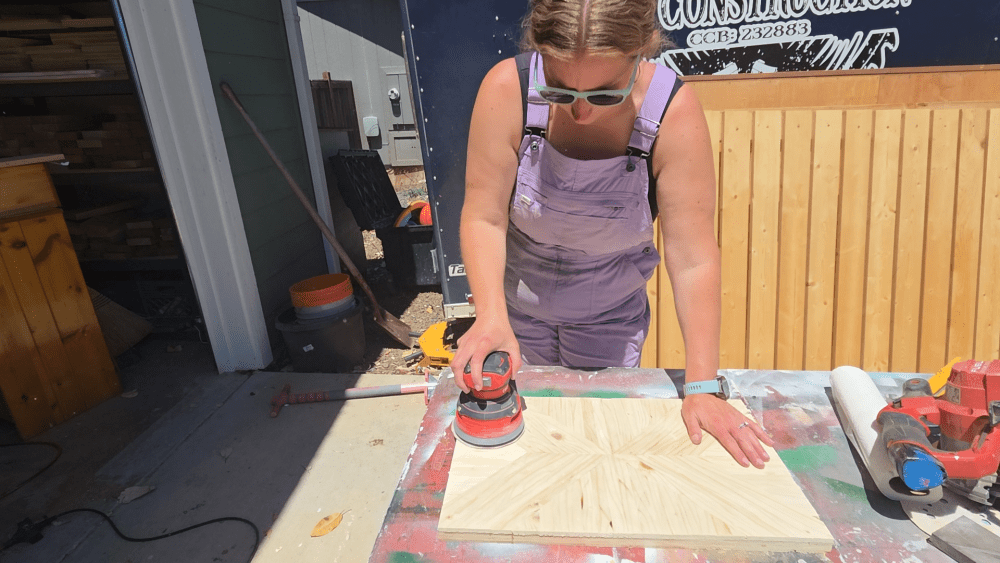
8. Next we are going to add our border. This can be tricky so I cut out one piece at a time. I cut this border with 45 degree angles but you could also make straight cuts to make it easier.
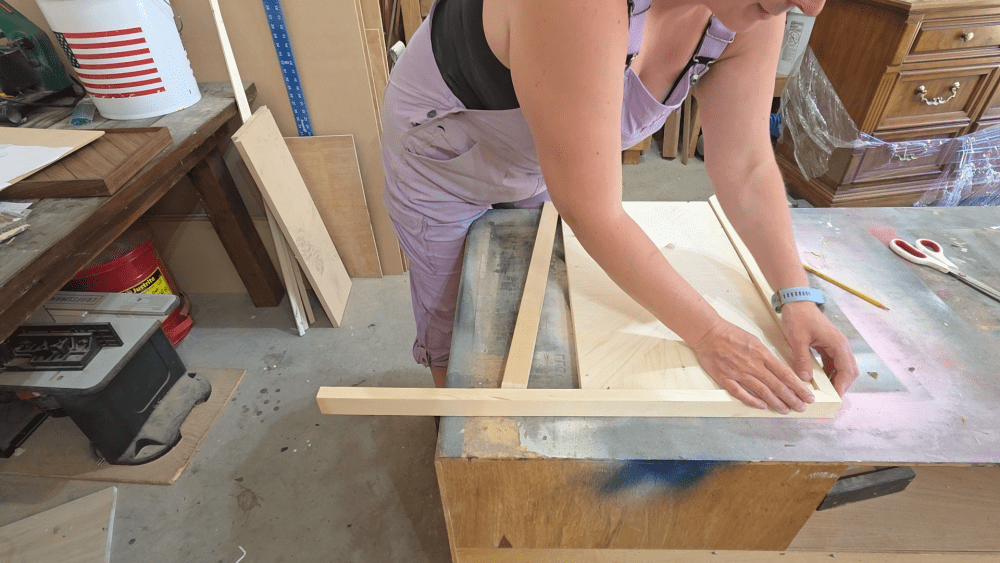
9. Once your border is cut out, use glue to attach and staple them on. I like to use corner clamps to keep everything in place while I’m stapling.

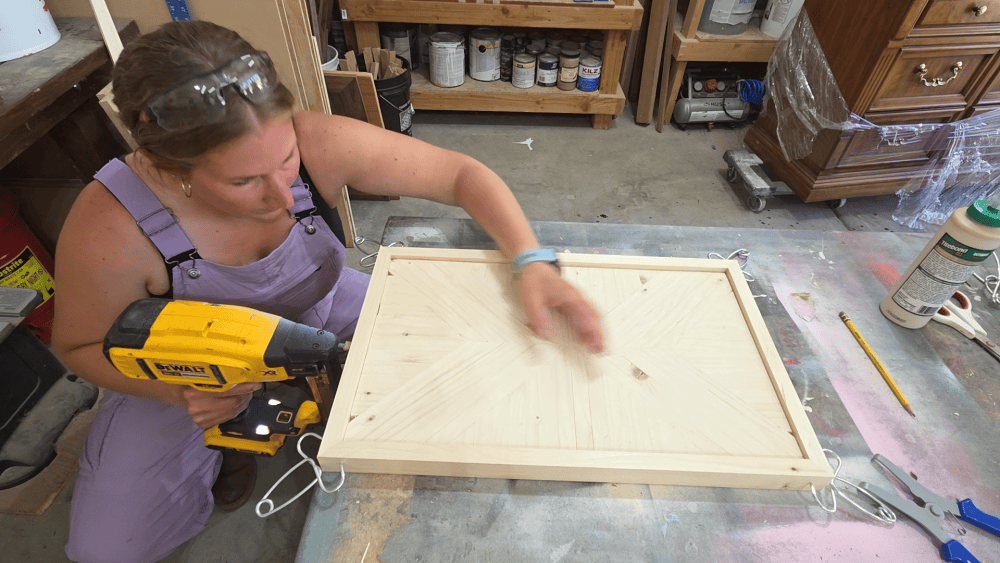
10. Now I add in a secondary border which gives it a really nice finished look. This is out of your thin strips and I used 45 degree angles. Glue and pin nail. Then let dry all the way.
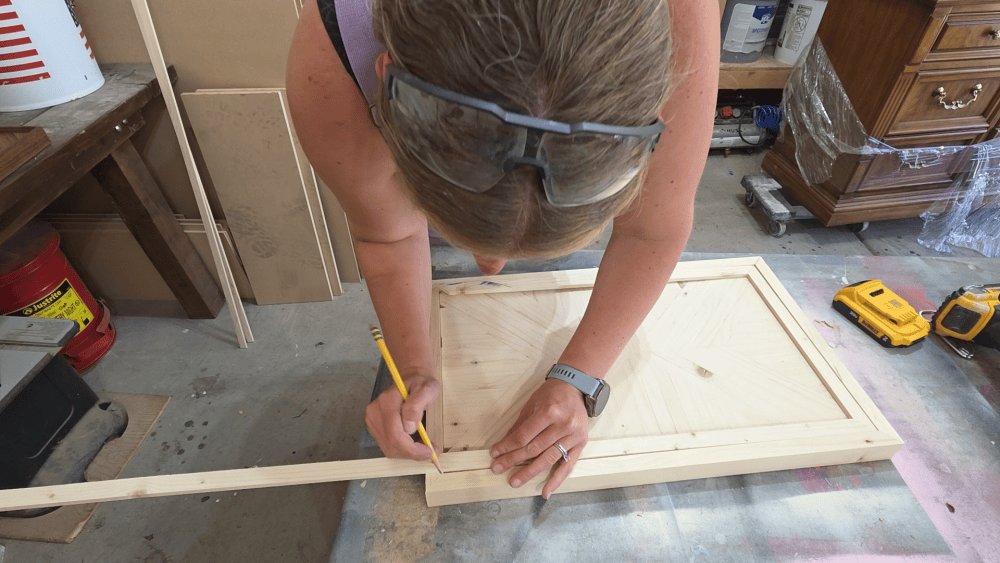
11. If there is any excess glue, make sure to sand it off before you stain your board. My go to stain is Minwax. Stain and wipe off, then let dry for 24 hours.

12. Now we are moving onto our bear! I have included the link to the bear design. Print it out and attach to your MDF. I use a spray adhesive to stick the design on. If you have a laser, you can also score your design.

13. Use a scroll saw to cut out layer by layer.
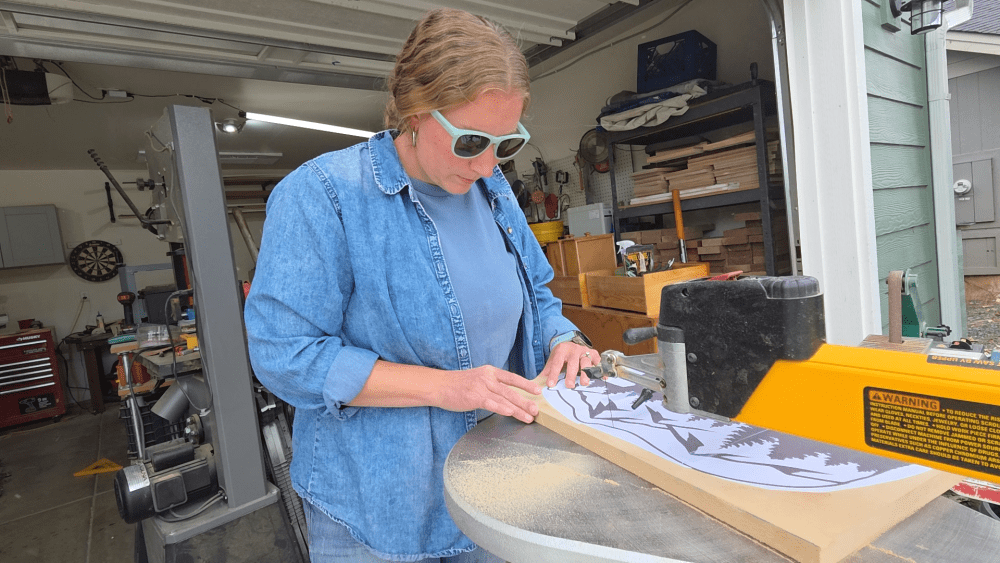
14. Sand off paper design. I like to use 120 grit for this part.
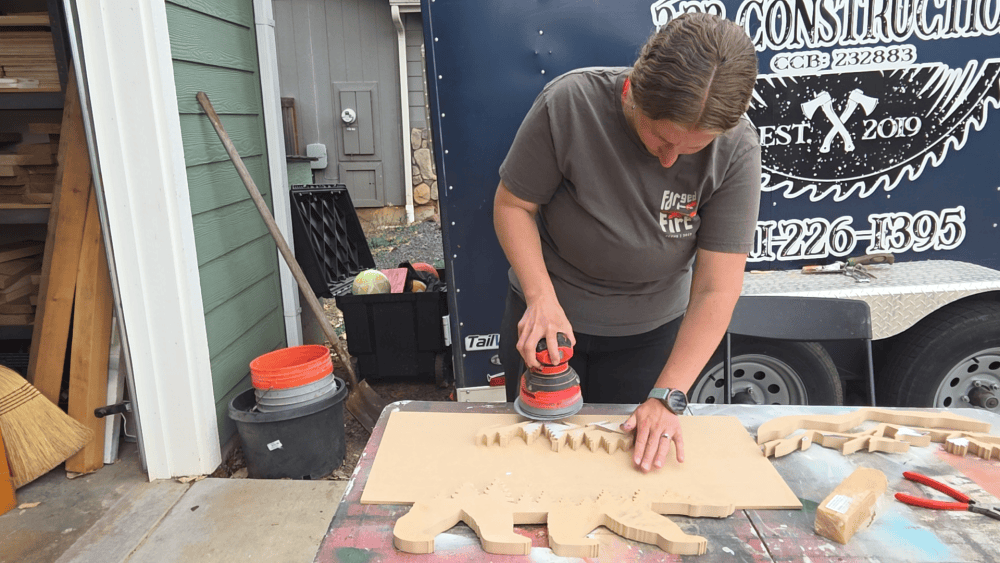
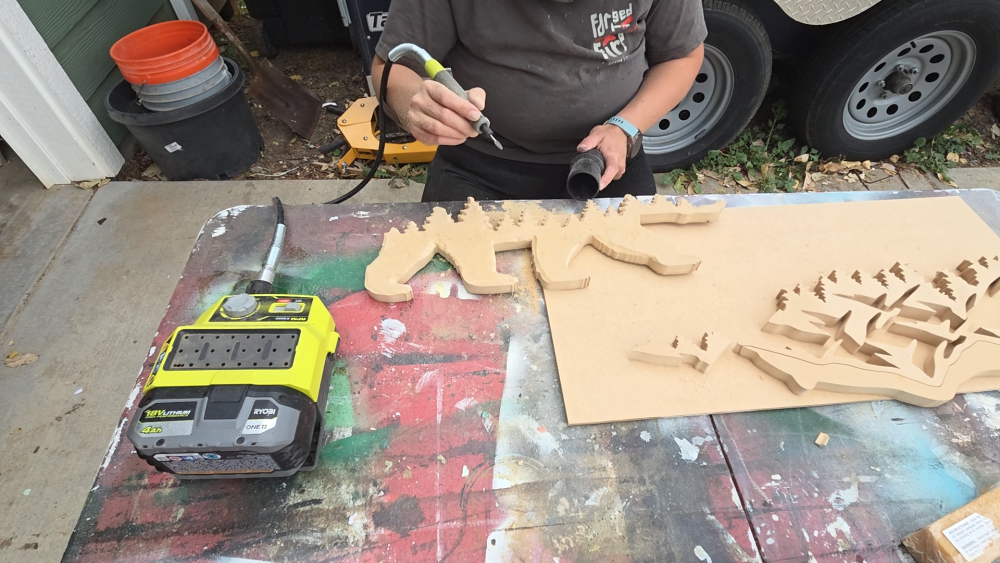
15. I use a dremel to give the bear extra dimension.
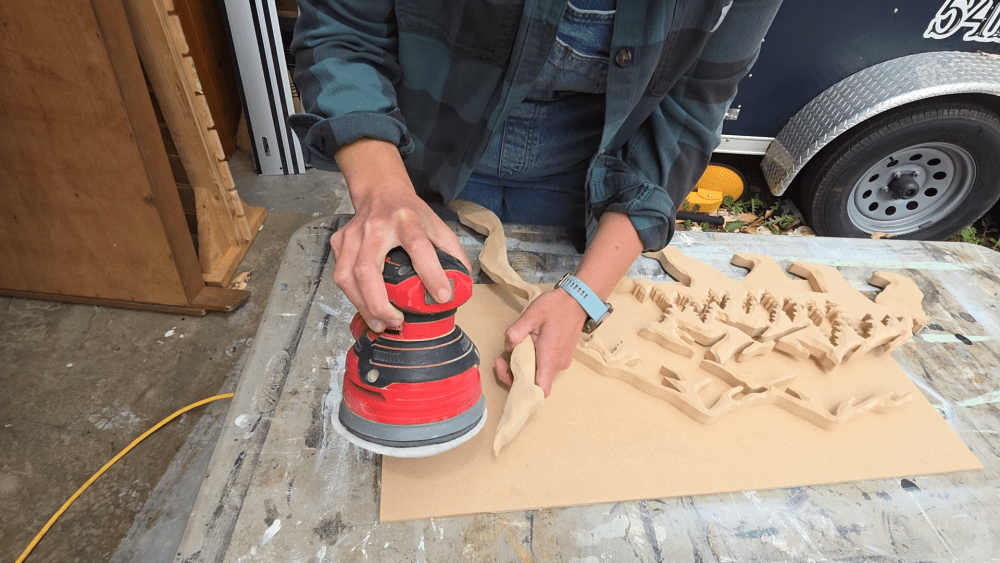
16. The next step is probably the most important to get a good paint finish on your bear. You are going to use 220 grit sand paper to smooth the bear out. Take your time and make sure everything is nice and sanded. This will make all the difference!
17. We are ready for paint! I use spray paint and start with primer. The MDF really soaks up the paint so the primer is really important.
18. Choose a handful of colors and paint the bear.

19. Once the bear is dry, you are ready to measure the placement on your sign.

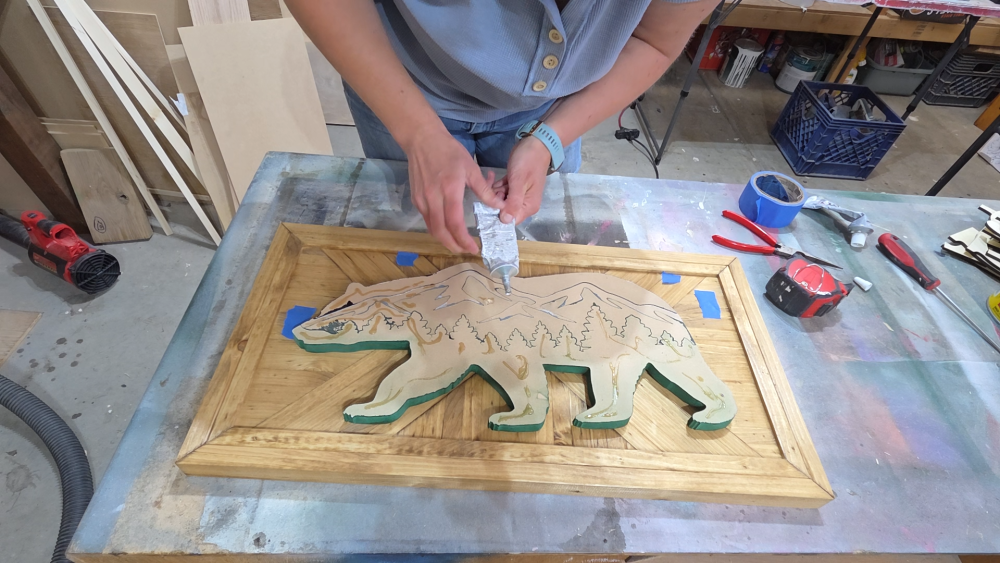
20. I use E6000 glue to glue the bear on.
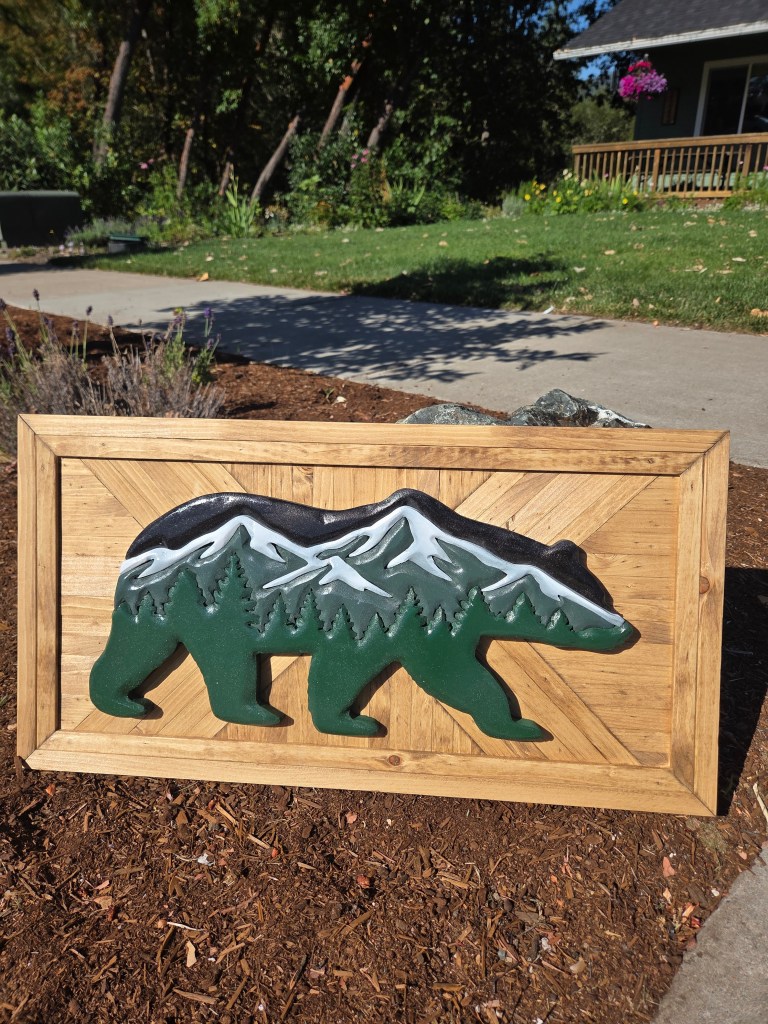
21. I like to add a french cleat hanger on the back for heavier signs. And your bear is all done!
Leave a Reply