Joyful and Simple Designs is a participant in the Amazon Services LLC Associates Program, an affiliate advertising program designed to provide a means for sites to earn advertising fees by advertising and linking to amazon.com. Some of the links below are affiliate links, so we may receive a commission, at no cost to you, if you make a purchase through a link.
Materials
- 1”x4”x2’ wood
- Miter Saw
- Sander
- 220 sander pads
- Drill
- Narrow Crown Staple Gun
- 1 1/4″ Narrow Crown Staples
- Drill bit set
- ¾” paddle drill bit
- Stain
- Test Tubes
Cut List
- 2) at 12” from long point to long point, angles at 45°
- 2) at 4” from long point to long point, angles at 45°.


Directions
- Prep your saw. Each board will be cut at a 45 degree angle. These are beveled angles.

- Start by cutting each piece of wood.
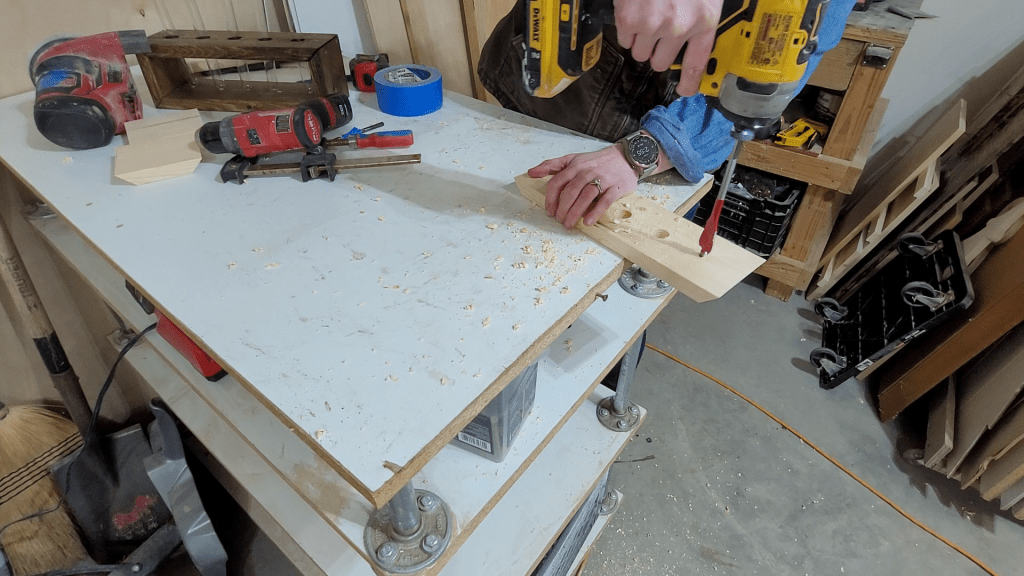
- We are going to add 5 holes to one of the 12” pieces. This will be your top piece so pick the one you like best.

- Mark for your 5 holes. These will be evenly spread out over your 12” top piece. I made the center of my holes every 2” starting from the edge.
- Clamp the bottom and top pieces together. Align them facing towards the direction they will be once your piece is put together.

- Use a small drill bit to create pilot holes into your top board. You are going to go just deep enough to make an indentation into the bottom board. This is where the bottom of your test tubes will sit. We will come back to the bottom piece.
- In just the top board, use a ¾” paddle drill bit to create bigger holes. Use the pilot hole as your center for each hole. This is where you will place your test tubes.
- In the bottom board, make the pilot hole wider with a bigger drill bit. I used ⅜” bit. Do not make these holes deeper, just wider for the test tube bottom to sit in.

- Sand your pieces until they are smooth.

- Apply stain, wipe off the excess and let dry.

- Assemble your stand. Insert staples from the bottom so that you don’t see them. When you attach the top, those staples can go into the side pieces.

- Add your test tubes

- Take some cuttings from your favorite plant and add them to your test tubes!


Join the Joyful and Simple All Access Membership for more projects! There you’ll find tutorials, plans, and live workshops!

Leave a Reply